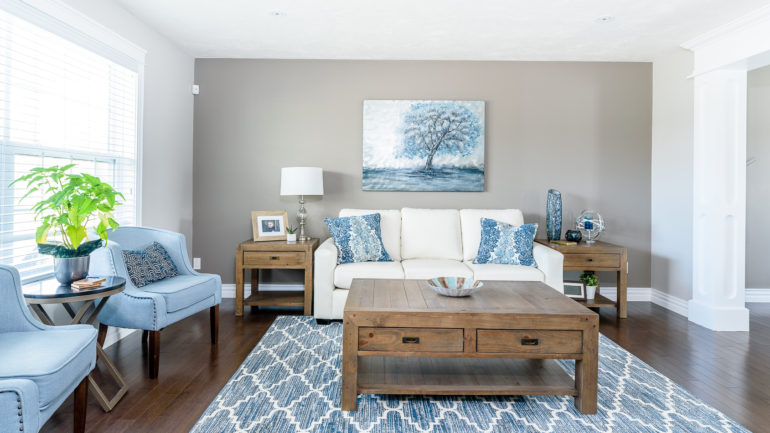
Admit it, we all judge books by their cover. We’re visually-oriented creatures, who are naturally drawn to lush gardens, funky wine labels, and cool album art. Buyers will screen your property the same way, which is why taking great photos is a key first step.
Did you know that buyers often won’t differentiate between a photo of a bad house or a bad photo of a great house? If the photos don’t impress online, a great description or neighborhood alone isn’t likely to incite a showing request.
Show off
To get into the proper mindset to take great photos that will resonate with buyers, conduct your photo shoot as if you are showing your home for the first time, with the camera as your buyer. These photos will be a virtual “showing” to convince them to take the time to come and see the real thing. So let’s get camera-ready!
INTERIOR
- Declutter, Stage and Clean: Many sellers assume that cleaning would be the most important step (and for real-life showings it is), but small amounts of dust and dirt won’t show up in your online photos. Decluttering and staging are your priority. Get rid of (remove from the shot) anything that doesn’t normally belong in the room you are photographing. Then, set the scene by staging the room to reflect its intended use; relaxing in the family room, dining in the dining room etc.
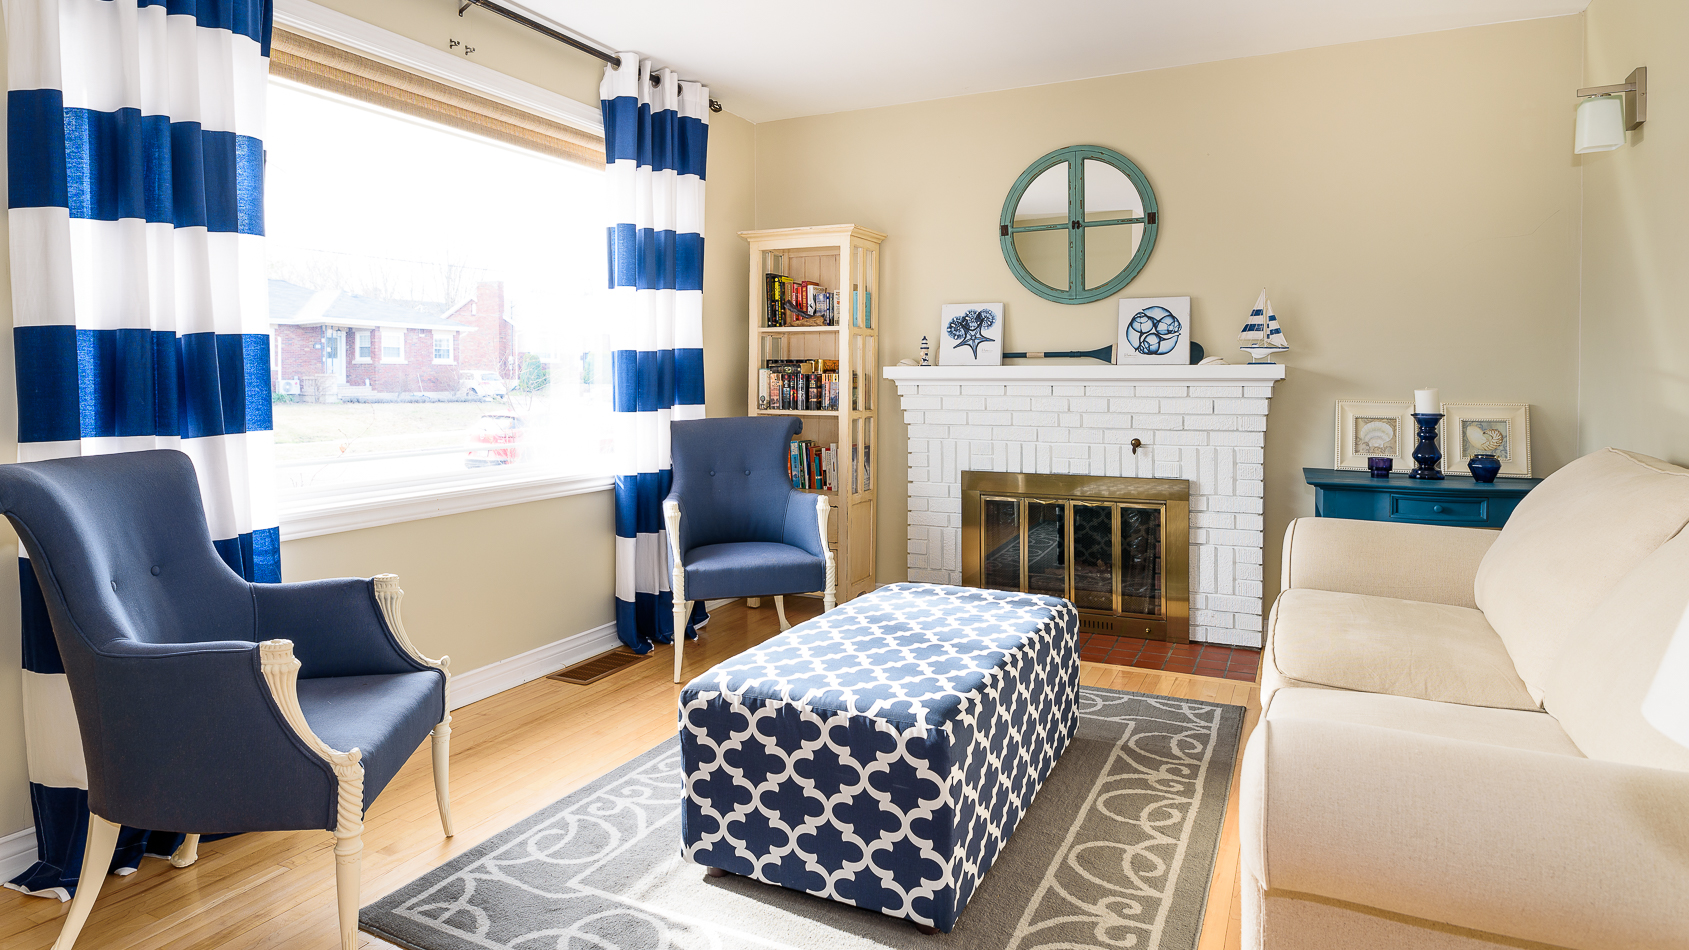
- Give it all or nothing: Use your judgment in each individual room to decide if you are going to turn on all of the lights OR open all of the blinds and curtains. One or the other will give the most consistent quality of light while doing both is rarely the most flattering look. You want lots of light in the room but not right into the camera lens, so if the light source is out of view of the camera, turn it on or open it up.
- Pick your spot: Most rooms can be best represented with a single photo, maybe two, so walk around and find the angle that shows the majority of the room in the most flattering way. It’s usually through the doorway for bedrooms and baths, but not always. Buyers want to see how rooms flow into the rest of the house, so try not to take photos that back them into corners. Nobody puts buyer into a corner!
- Stand on your own three feet: Use a tripod. Even an inexpensive tripod is better than no tripod at all and a cheap camera on a tripod will give better results than an expensive handheld camera.
- Go long! Regardless of how they may look to the naked eye, home interiors are DARK to your camera. Getting lots of light to the camera is key and the best way to do that is with long shutter speeds. Use your tripod to set long shutter speeds without worrying about camera shake and blur.
- Get low: Our natural instinct is to take photos at eye level. Unfortunately for interior real estate photos, eye-level photos mean the center of your photo is at the 5 to 6 ft mark. In an average 8 ft, high room, those photos will be partly made up of…ceiling. Unless your ceiling is the main feature of your room, an equal balance of floor and ceiling is preferred. Again, use your tripod and set a camera height of around 4 ft or roughly chest height for more balanced photos.
- Squeeze into tight spaces: Small bathrooms and walk-in closets almost always require something a little different to capture as much of the room as possible. That something could be flipping your camera on its side to shoot portrait orientation through the doorway. Just remember not to get your reflection in any mirrors – that’s 7 years of real estate bad luck.
Keep it real
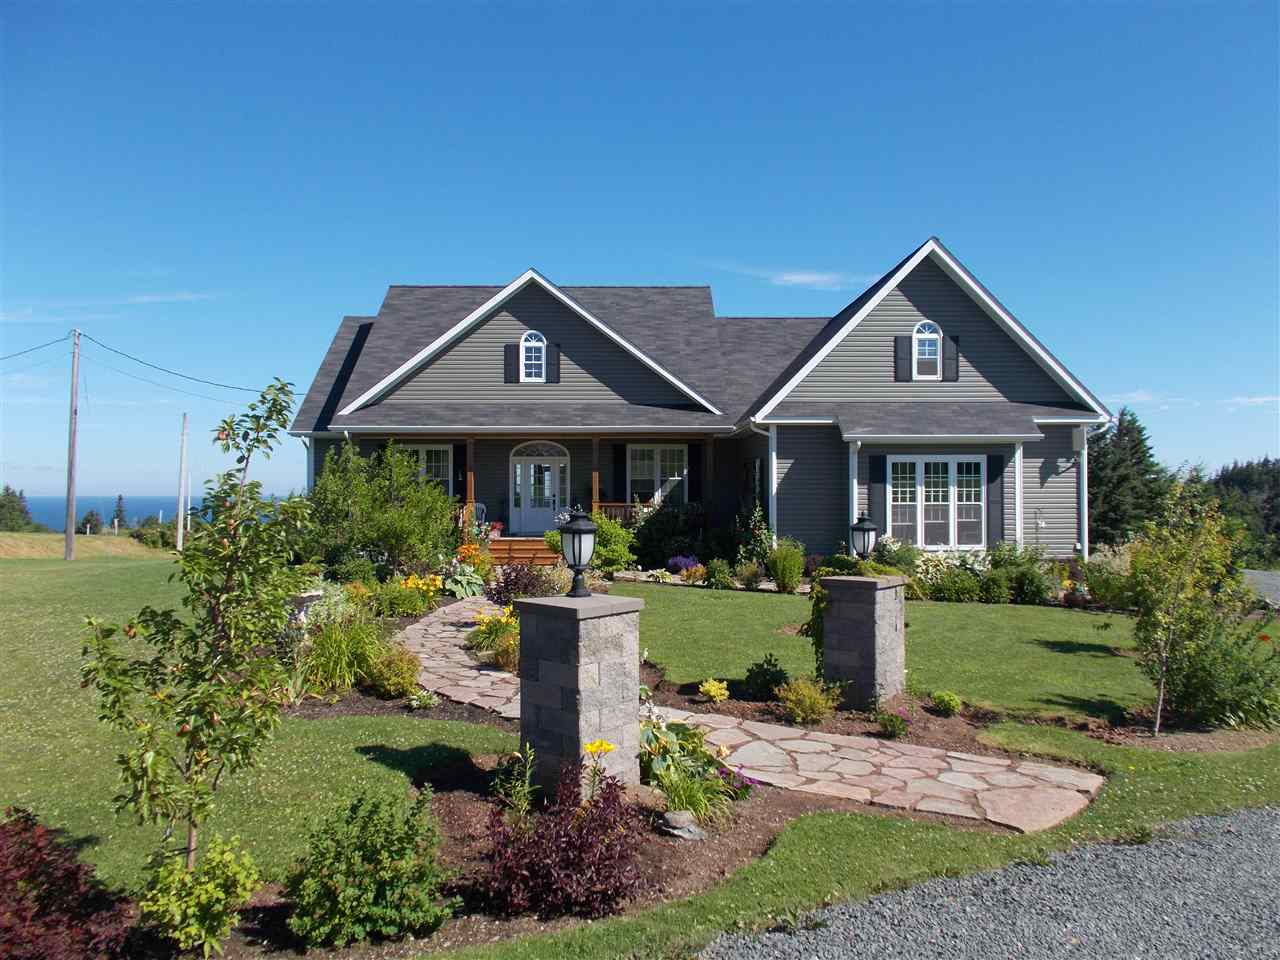
The most common photo-related complaint we hear from buyers is that the homes and rooms are nowhere as big or as nice in-person as they expected them to be. Excessive photo manipulation and ultra-wide lenses that distort reality are not your friends. Put your best (accurate) foot forward – buyers will appreciate it!
Now that you’ve mastered interior shots, learn the ropes for the exterior of your property.
